Today we keep on talking about some post-production features. Post-production has to be an asset in each artist’s arsenal when it comes to creating 3D scenes. How you use it within the scene - is entirely up to you. It can be as dramatic or unpretentious as you want. Used rightly, post-production can speed up your workflow and take your renders to the next level.
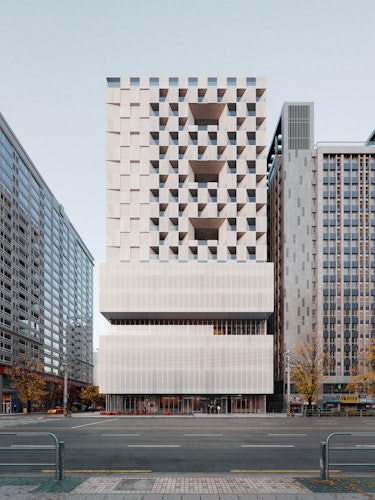
Rendering is a complicated art, and there appears to be an infinitely huge combination of instruments and techniques that artists make use of, and Photoshop is one program that is bound to become visible in almost any workflow. This is an exceptionally multipurpose program that can be used for the whole thing starting from sketchy collages to photorealistic views, Also, it is a characteristic complex beast that can take years to master. However, we are all aware that it's the rise of Instagram which gave us the progressive and increasing acceptance of using post-production filters and makes our life slightly easier. Today, many of the more striking pictures we see have had some sort of filtering applied to them, and it has become the norm.
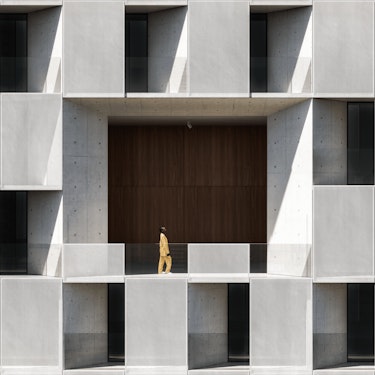
So as a primary step, before you start to apply the filters and play with colors, I would suggest a thing to remember. Use the references. References are an absolute must-have. Even if you think that you perfectly recognize what you want to add to your image, or how you want to make it look. It’s not only about believability but also about color grading and other post-production magic you may apply. Gathering references might take a certain time, but it's fully worth it. You’ll discover a lot of exciting solutions which will boost your imagination. It will also let your eyes rest from your render; and when you look at it again, you might observe a lot of details you haven’t seen before. It also will help you to match the rest of the images and bring the same atmosphere throughout the whole project.
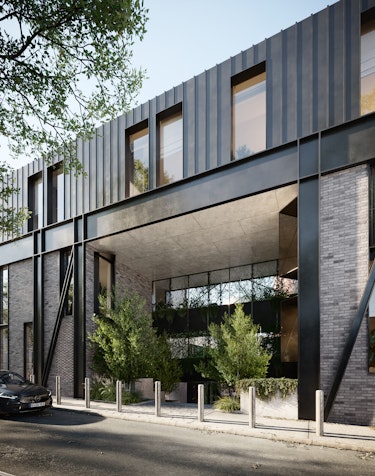
Sometimes you might not know where to start when importing your render into Photoshop to tweak it. In my experience, I find it extremely important to know what each pass does individually. So after stacking the passes so that they equal my beauty pass, I turn each one off and on to see how they affect the image. Once you know how these all work together, you can start to look for areas of the image that are too dark, too bright or too reflective, etc.
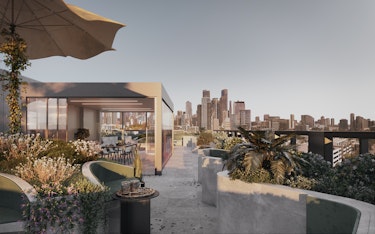
There are just so many effects and things you can add, the secret is in being subtle and knowing the look you are after. Remember that different cameras will produce different results under different conditions and it's up to you to decide what works best with your footage. You might also use bloom or glare effects to help the viewer focus on a certain spot, this can be very helpful as the eye is always drawn to the brightest spot in an image.
